
Step-by-Step: hotComm Standard/Pro Installation
|
Document number: HLINI.01
Copyright (c) 2003 1stWorks Corporation. All rights reserved. |
This document shows the hotComm Standard/Pro installation screens.
Installation Screens
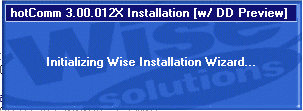
- The installer starts.
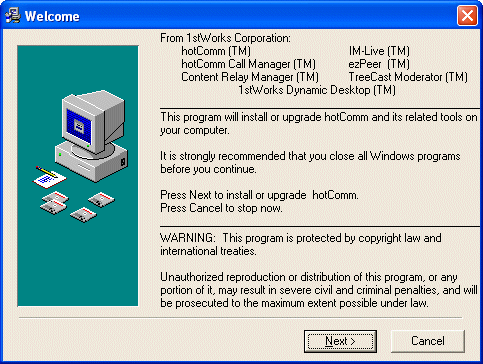
- Welcome: Click Next.
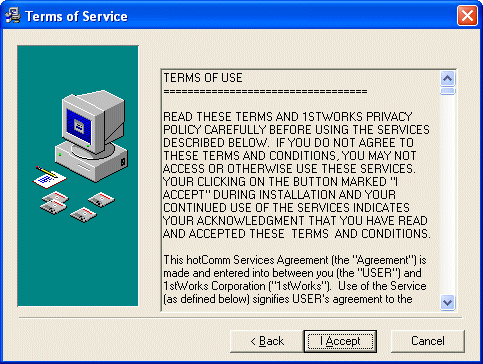
- Terms of Service: Read this carefully, and click I accept.
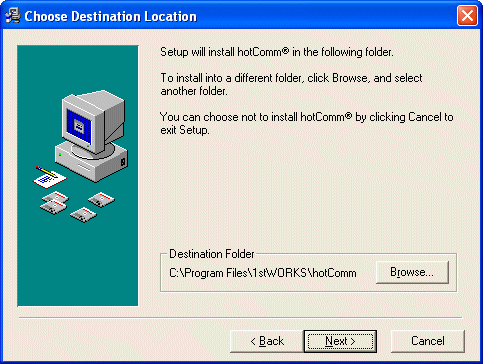
- Destination Location: Click Next to install in this location (strongly recommended).
- Program Group: Click Next to use this program group (strongly recommended).
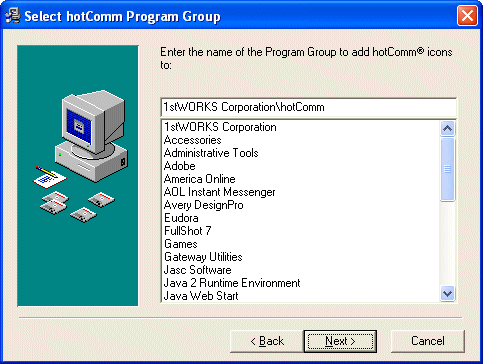
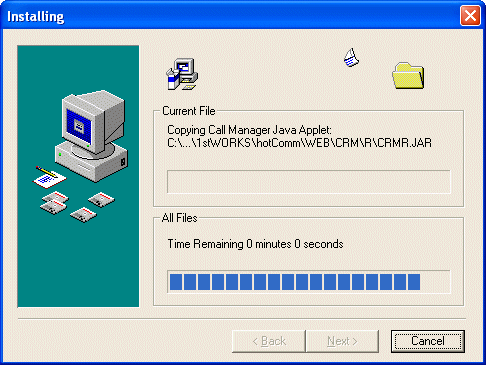
- Installing: Files are copied.
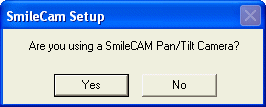
- Smilecam Setup: Click Yes if you have a webcamera that can pan and tilt installed.
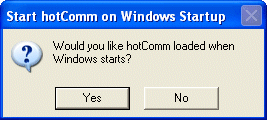
- Start hotComm on Windows Startup: Click No (you can change this setting later).
- Upgrade Complete: Click Finish. If you are a new user, the Registration Wizard starts automatically.
Note: if you plan to share a license between two computers and this is the second computer, click Exit. Do not register the second computer.
See 1 License, 2 Computers.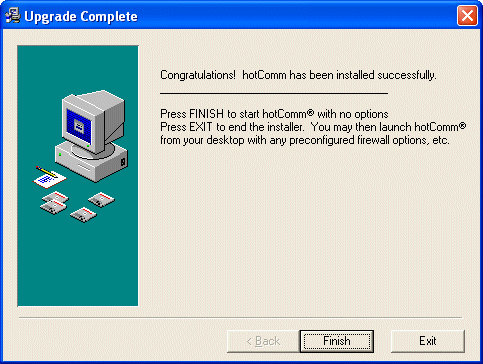
Attention! If you are prompted to start your computer, please do so.
Next step: hotComm Registration Screens.
| Return to: | How to Install hotComm Standard/Pro |
| How to Upgrade hotComm Standard/Pro |
Top